


Hey, it's Gulshan Yadav,
I'm back with another article on Flutter.
So, what are we going to learn today?
In this article, I’ll cover state management through Provider in Flutter.
But before starting out, I want to answer some basic questions,
What is State-Management in the First Place?
According to Wikipedia,
State management refers to the management of the state of one or more user interface controls such as text fields, OK buttons, radio buttons, etc. in a graphical user interface.
By the way, this definition gave me loose motion. 🥴
Let me give you my definition of State Management using an example,
Think of our classic counter application,
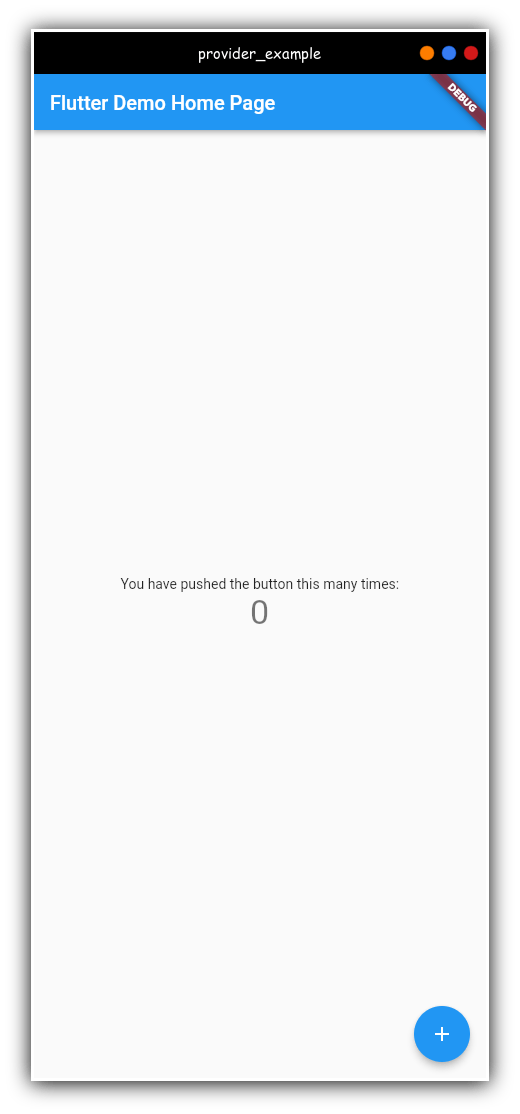
You see there’s an Add button and Text at the center stating the number of times you performed a click event on the ADD button.
But how is this even related to state management?
Well, Here changing the value of the text at the center according to the value stored in the variable is State-Management!
Now head back to our Wikipedia Definition, After this example, I think you’re pretty much clear about, What is State-Management?
As our application is already updating the U.I. according to the value inside the variable.
In light of this, we can conclude that our counter application already manages the state.
You guessed it right!
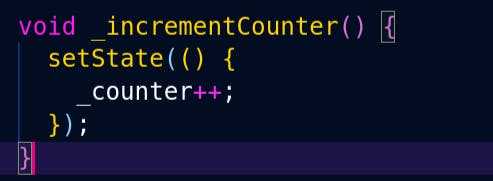
SetState is managing our state in this case!
Gangadhar hi Shaktimaan hai 👀
Let's implement the provider in our application now.
Step 1: Create a flutter application.
Step 2: Add provider into your pubspec.yaml file.
Step 3: Wrap your Material app with MultiProvider.
What does it do?
Well, this will act as a tunnel for your application.
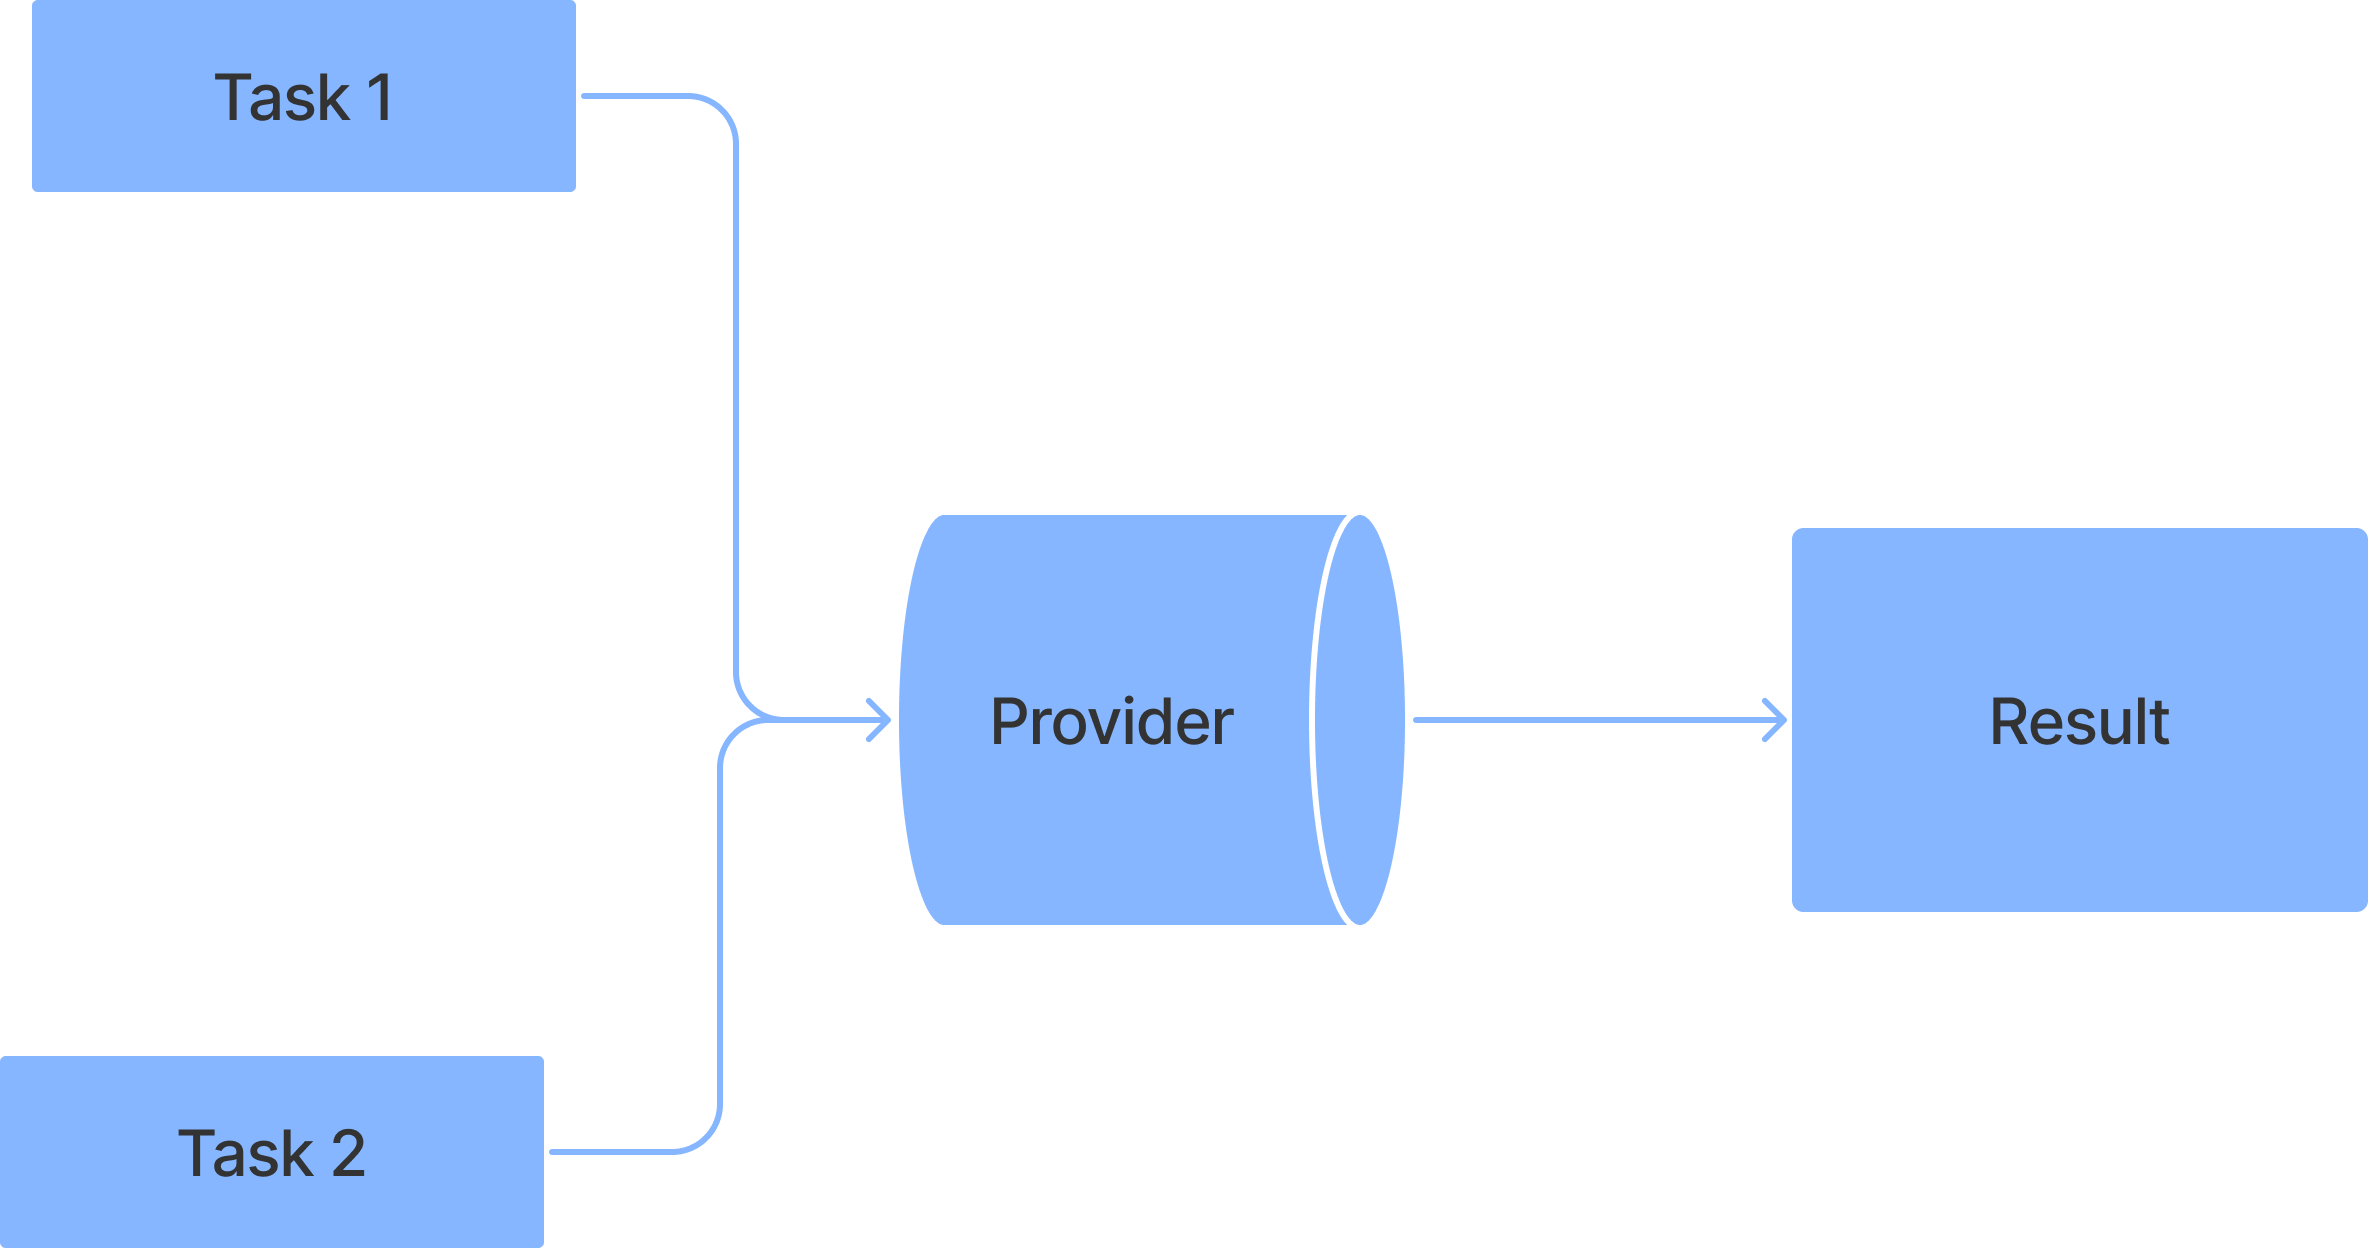
Something like this. This diagram depicts that every method declared inside a class which extends the ChangeNotifier will go through the tunnel named Provider or any state management package.
But why is this even needed?
Using a state management package like Provider or any other makes your code more readable. Imagine using
setstateeverywhere. That would work too. But in this case, you will be irritated when developing a massive project.
Why use a provider?
You can use any state management package you want. It doesn't matter at all. The concepts are the same in all cases. When using bloc, riverpod, getx, or anything. The concept explained above is the same.
Let's get back to our steps,
Step 4: Create a class that extends the changeNotifier
class CounterNotifier extends ChangeNotifier {}
What’s the task of this class?
Here we will declare all the methods that we want to use in our application.
Since we’re building a counter application using flutter, we will be adding the
incrementanddecrementmethods to control the centered text.

Step 5: Define the methods
Let's Go! 💪
class CounterNotifier extends ChangeNotifier {
  int counter = 0;

  void increment() {
    counter++;
    notifyListeners();
  }

  void decrement() {
    if (counter > 0) {
      counter--;
      notifyListeners();
    }
  }

  get count => counter;
}
Hmm, looking at the code, I guess you have understood everything going on. But still, let me explain too 😅 ( That’s why I’m writing this blog naa ).
The first thing inside our class is our variable that will be used by our widget to update its state.
The next two methods are also simple to understand. But there's something important inside those.
notifyListeners() method!
Using this method, we are telling our widget,
Hey you widget, the value inside this variable is updated.
Update the U.I. Man!!!
Hmm, Now how to set our widget to listen to these changes??
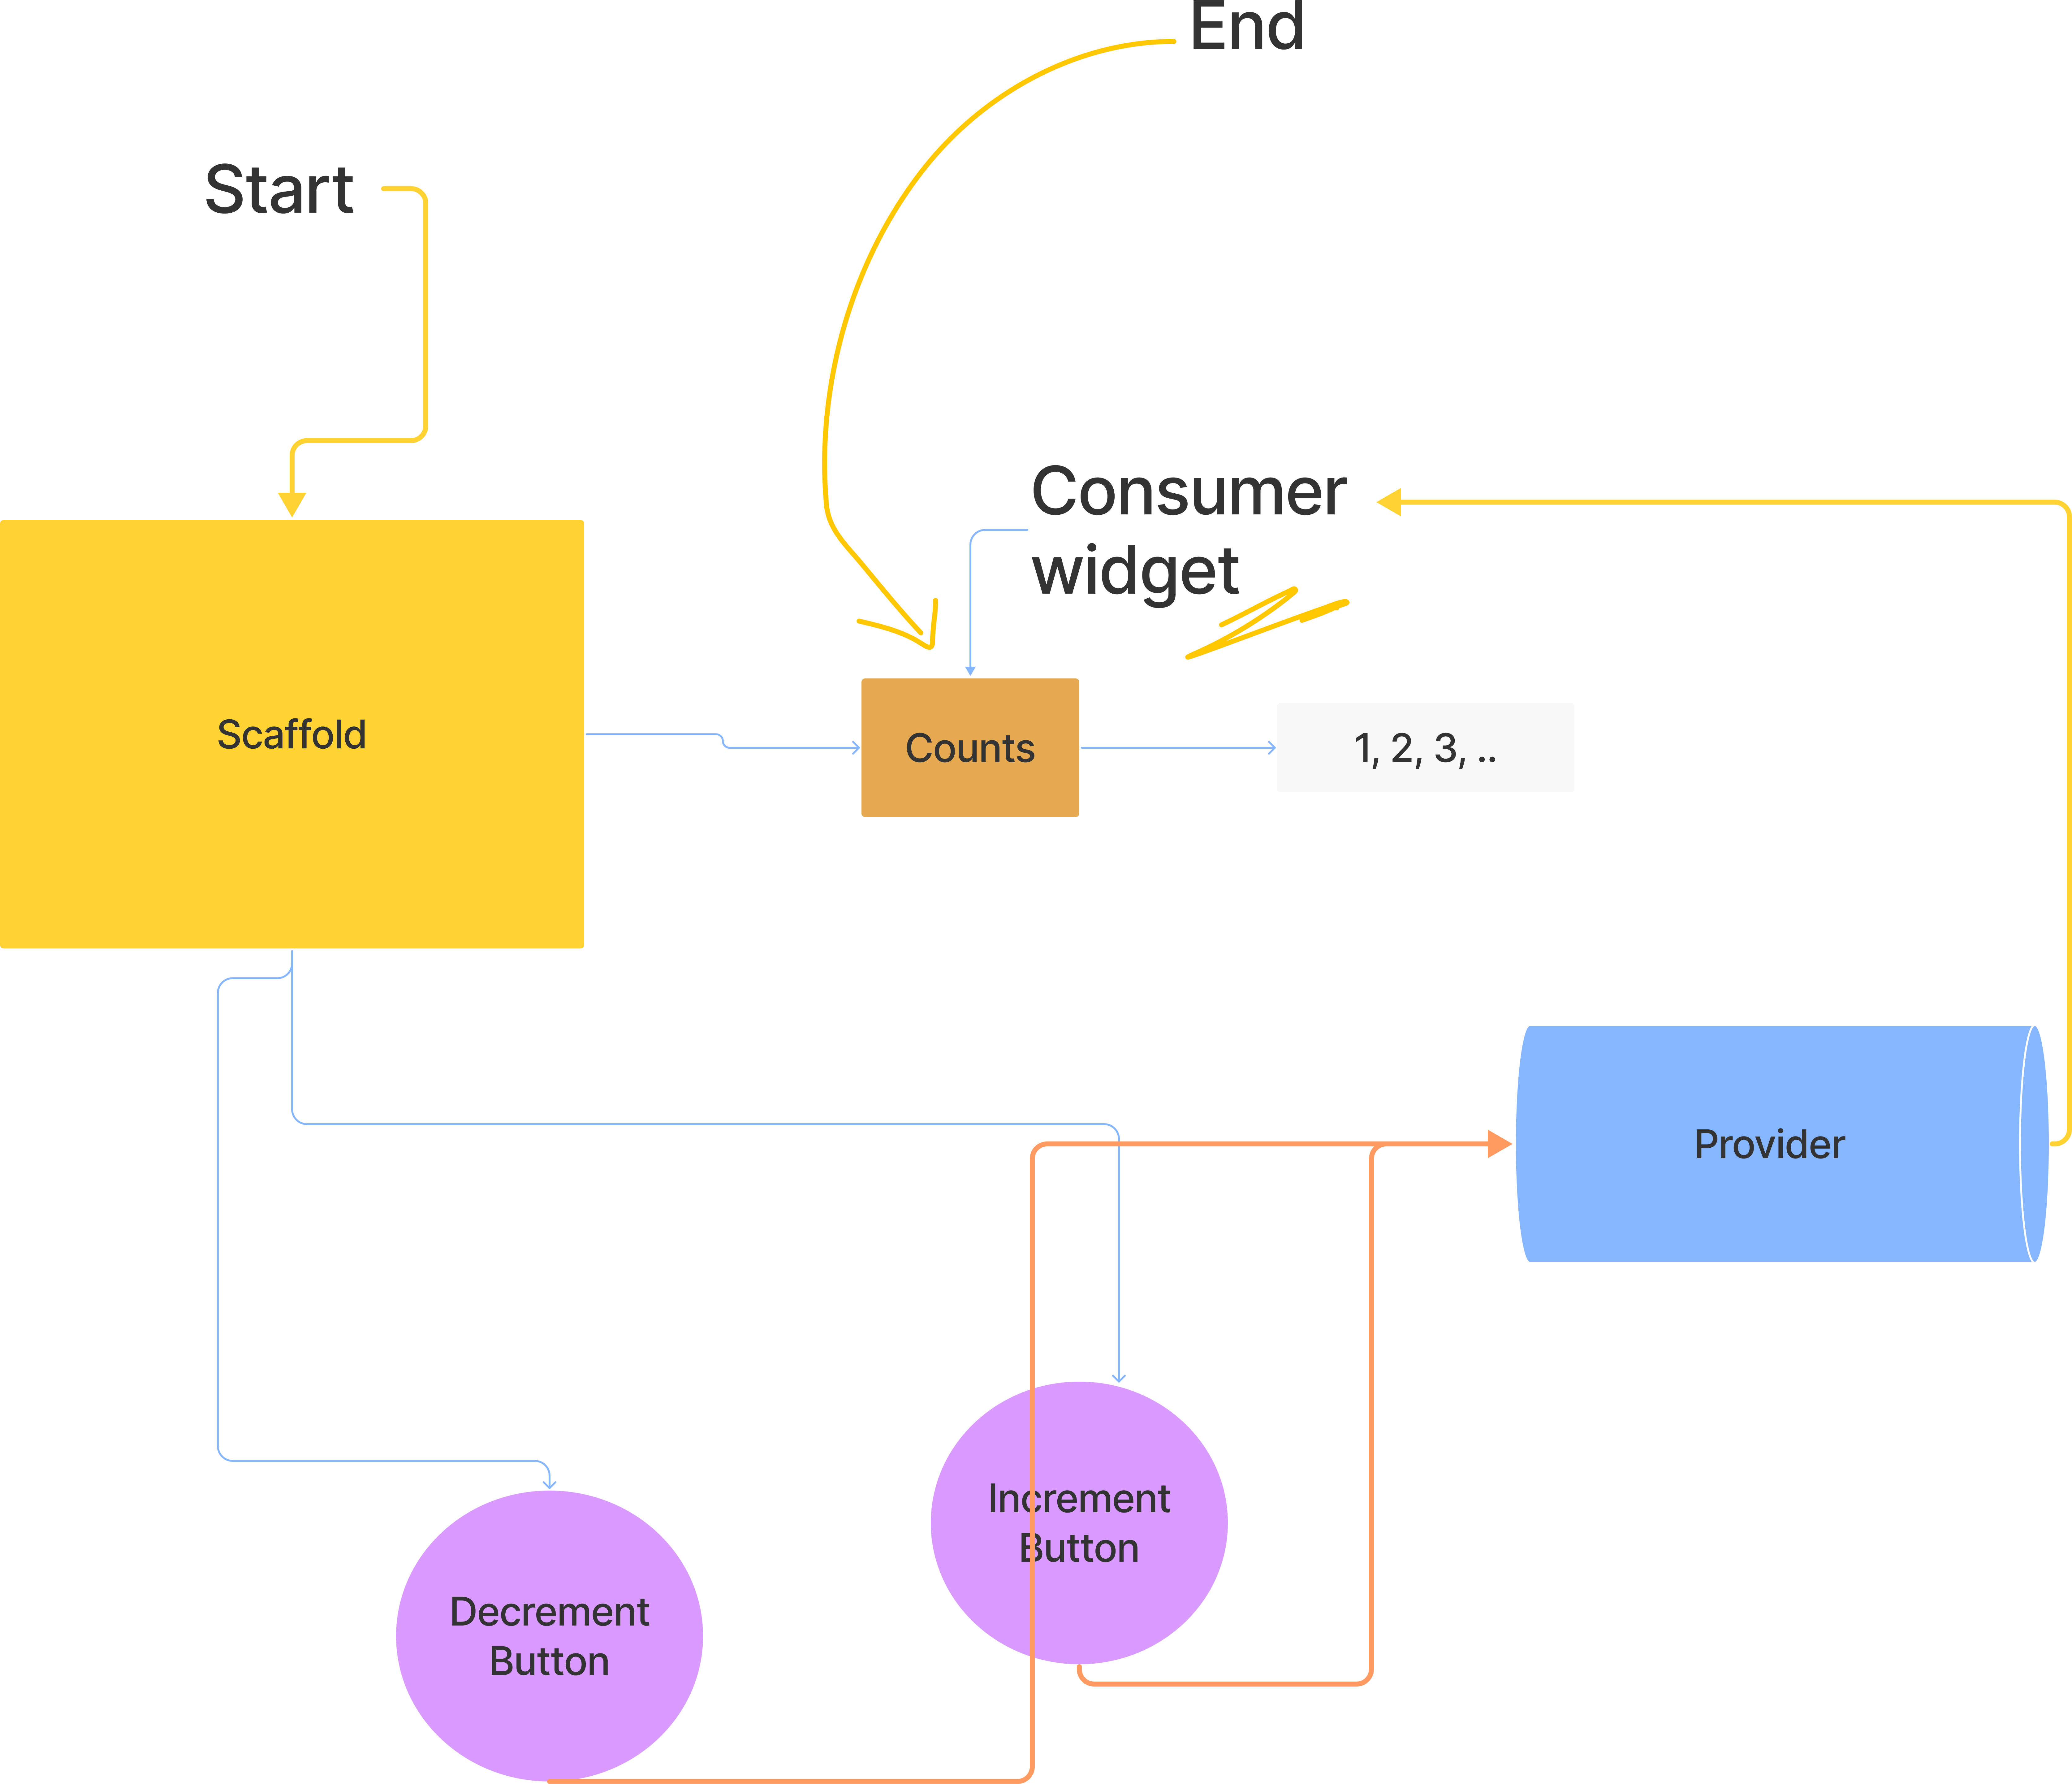
Good Question! We need to use a consumer widget to do so.
Like this,
Consumer<CounterNotifier>(
              builder: (context, watch, child) {
                return Text(
                  watch.counter.toString(),
                  style: Theme.of(context).textTheme.headline4,
                );
              },
            )
In the above example, I’m calling the consumer widget directing our CounterNotifier class which we defined.
To listen to our damn variable, we have used the watch variable.
Now what??
Hey there’s more, we want to trigger the values too, right?
For this we will use a button, In this case, we’re using floating buttons.
Here's the usage,
floatingActionButton: Row(
        mainAxisAlignment: MainAxisAlignment.end,
        children: <Widget>[
          FloatingActionButton(
            onPressed: () => provider.increment(),
            tooltip: 'Increment',
            child: const Icon(Icons.add),
          ),
          const SizedBox(width: 10),
          FloatingActionButton(
            onPressed: () {
              if (provider.counter > 0) {
                provider.decrement();
              } else {
                ScaffoldMessenger.of(context).showSnackBar(
                  const SnackBar(
                    content: Text('Counter is already 0'),
                  ),
                );
              }
            },
            tooltip: 'Decrement',
            child: const Icon(Icons.remove),
          ),
Hey but, what is that provider?
Umm, I made an alias. Here,
provider = Provider.of<CounterNotifier>(context, listen=false);Here’s the structure of our code,
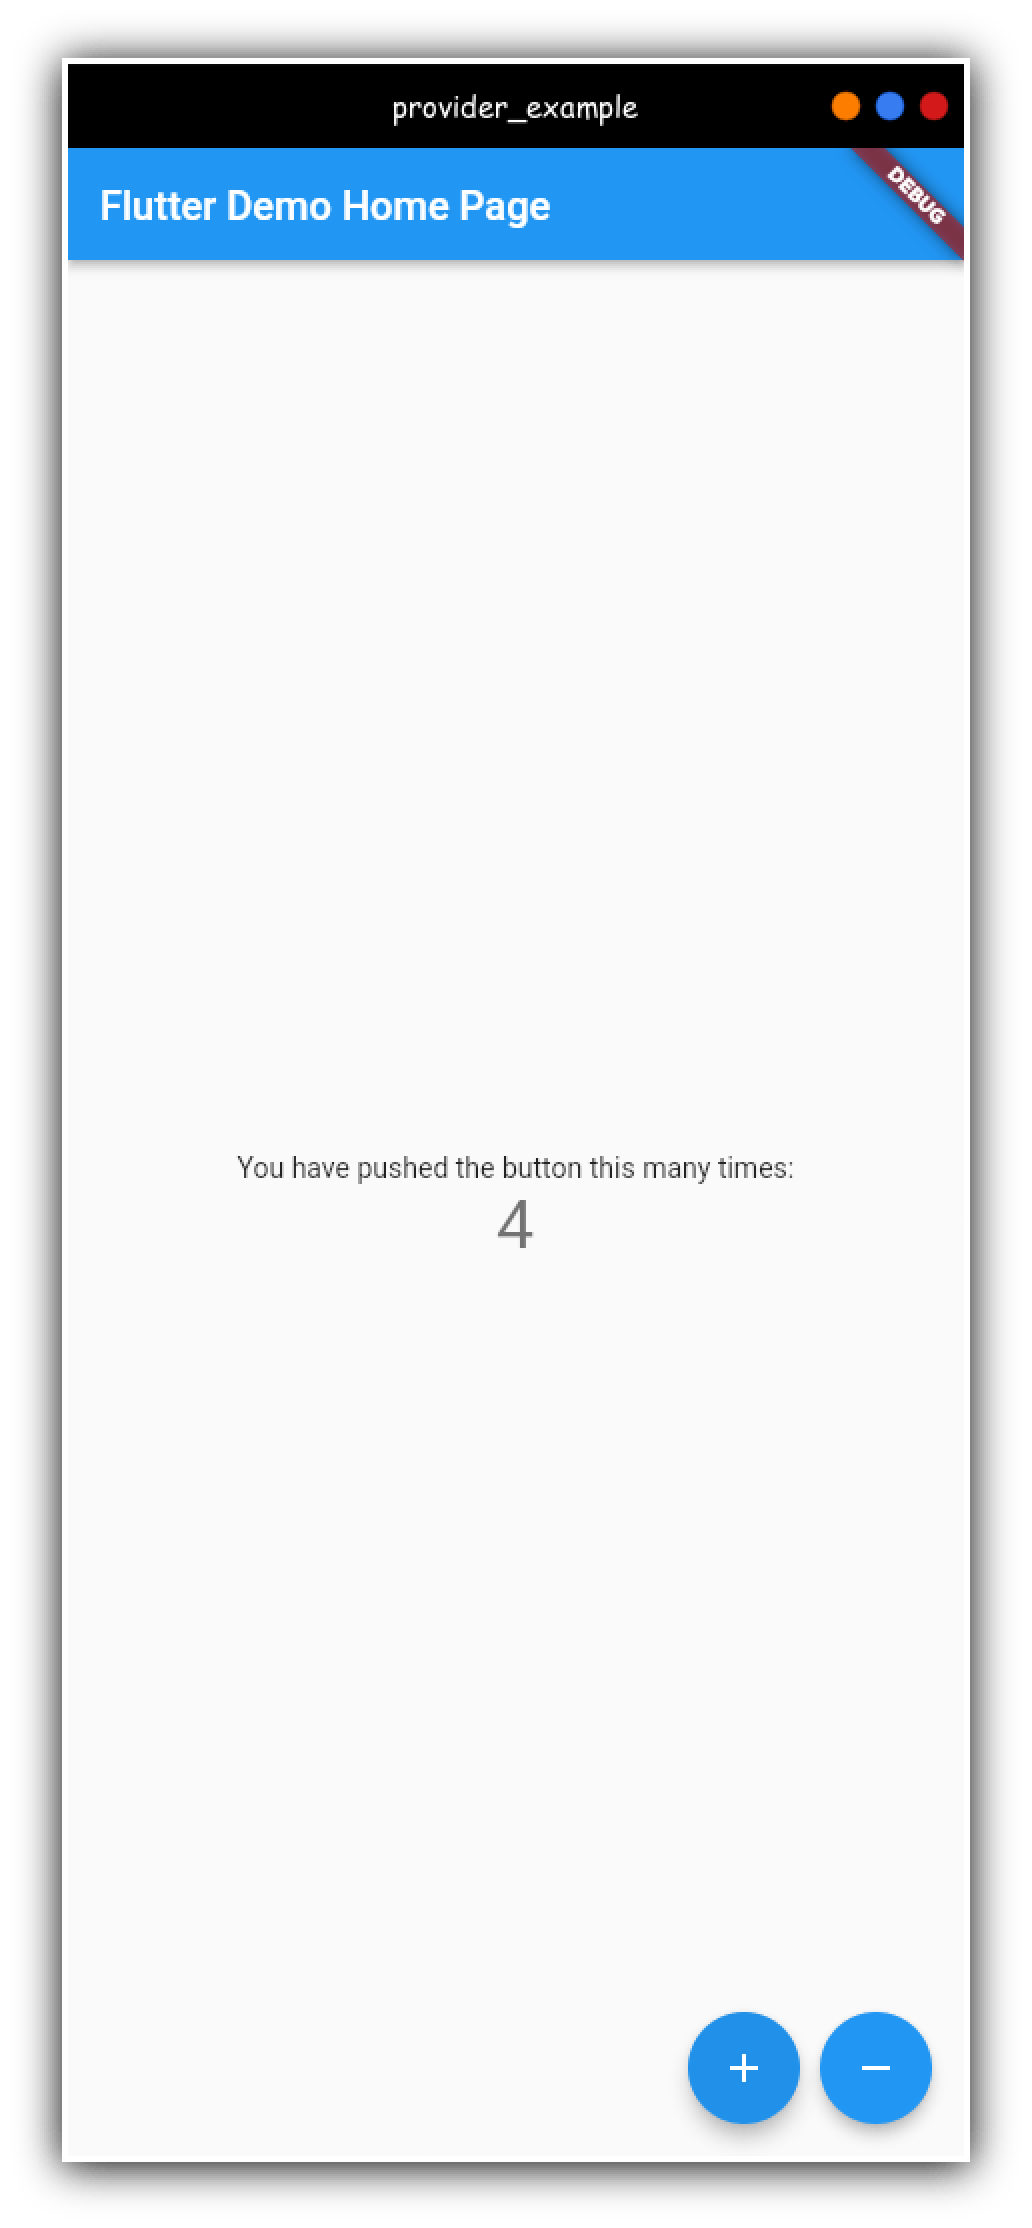
And here’s the output,
Are you interested in seeing the code?
There you go,
Source Code
Thanks for reading, I'll see you in my next article.
Until then, Happy Coding!
Cheers 😊
If you have any doubts, do join my Telegram Group to clear them.